Saturday, February 9, 2013

Garden 2013 - A New Garden Bed

I decided to upgrade my garden from a small raised bed in the front yard to a large in ground area behind the house this year.  I still plan on using my raised bed to grow spinach and lettuce, but am looking forward to a much larger harvest from the back.

Before any planting could be done though, we had to clear out a large amount of weeds & junk.
Looking at the future garden area facing towards the back field.
Looking at it facing the back of the garage and our tour bus.  
As you can see, we have some work to do!

After hoeing up the weeds, I went back through and picked up by hand all the weeds left laying on/under the dirt.
Over half of the garden bed has been dug up and weeded.
All the wet soil you see is from our washing machine.  We originally thought this would be a great place to put the garden because the grey water from the laundry would help water the garden, but have since realized that it keeps this area too wet and will more than likely rot the roots.  So my husband will be moving the drainage pipe to another location soon.

A better view of  how much more we need to dig up.

Sunday, October 28, 2012

Cowgirl Decor

My 5 year old wanted a Rodeo themed birthday party this year. I decided to go with the colors brown & pink.  I was pleasantly surprised to find paisley print paper & ribbon, so I also incorporated paisley into the them.

I used my Silhouette to make all the paper decor.  Here is the goodie bag using a brown paper lunch bag with a horseshoe on the front.

For the Watering Hole, I made a sign & stuck into a bale of straw.  I also glammed up the drink dispensers with the pink/brown/paisley ribbon.

A close up of the Cowboy Cafe sign.

One of my old boots served a great flower vase!


I love the Banner I made.  I will have to use this for all future girl birthday parties.  Just need to make a name one for my other daughter.

I didn't get any pictures of the centerpices.   :( But they were mini straw bales, wrapped with the brown/pink/paisley ribbon and then had cowgirl & cowboy paper silhouettes stuck into them.  I also added pink & white flowers to them.

The sign that greeted all our guests.

I tried my hand at making chocolate caramel pretzels, which were much harder than I anticipated, and then totally forgot to add them to the goodie bags.

Wednesday, September 5, 2012

Cannings Done!

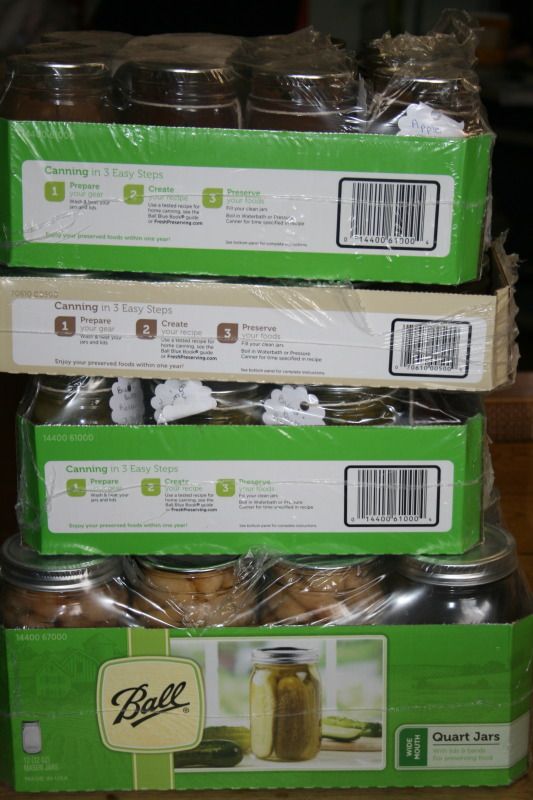
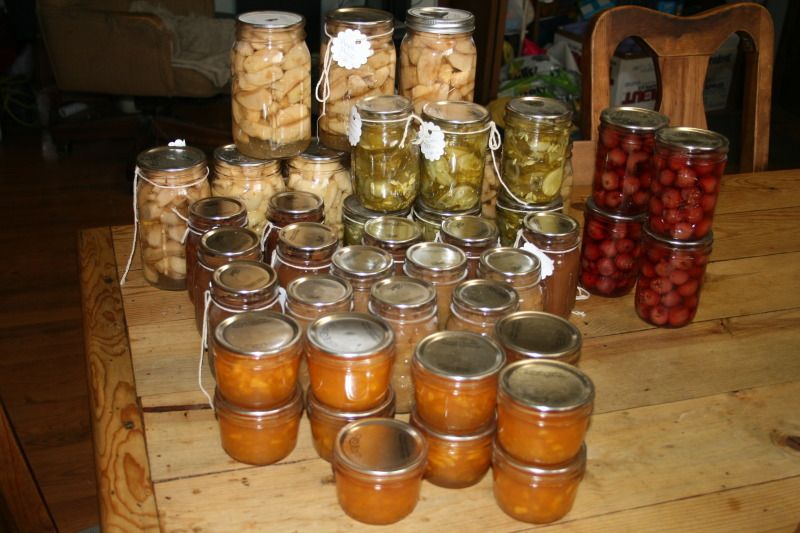
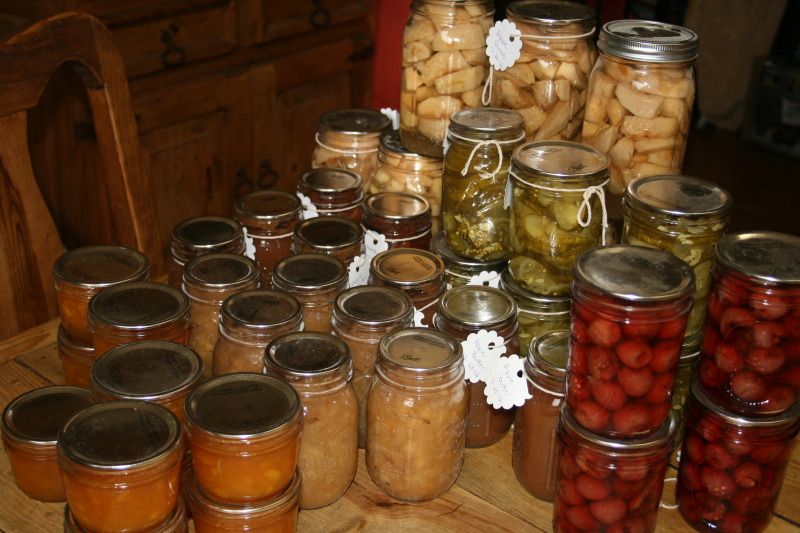
Here is the final out come of my 1st year canning (minus a few jars).  10 of the cherries jars are down in the basement and we have already opened/eaten some of the pickles, applesauce, apple butter,  and jam.  I was hoping to make orange marmalade, but never did get around to it.  Maybe next year.  One thing I have learned, it I need a larger stock pot to hold more cans and an apple peeler/slicer thing.  These will definitely help the process go much faster!

Friday, July 27, 2012

The History of 'APRONS'


The History of 'APRONS'


I don't think our kids 
know what an apron is. The principal use of Grandma's apron was to protect the dress underneath because she only had a few. It was also because it was easier to wash aprons than dresses, and aprons used less material. But along with that, it served as a potholder for removing 
hot pans from the oven.
It was wonderful for drying children's tears, and on occasion was even used for cleaning out dirty ears.

From the chicken coop, the apron was used for carrying eggs, fussy chicks and sometimes half-hatched eggs to be finished in the warming oven.

When company came, those aprons were ideal hiding places for shy kids.

And when the weather was cold, Grandma wrapped it around her arms.

Those big old aprons wiped many a perspiring brow, 
bent over the hot wood stove.

Chips and kindling wood were brought into the kitchen in that apron.

From the garden, it carried all sorts of vegetables. 
After the peas had been shelled, it carried out the hulls.

In the fall, the apron was used to bring in apples that had fallen from the trees.

When unexpected company drove up the road, it was surprising how much furniture that old apron could dust in a matter of seconds.

When dinner was ready, Grandma walked out onto the porch, waved her apron and the men folk knew it was time to come in from the fields to dinner.
It will be a long time before someone invents something that will replace that 'old-time apron' that served so many purposes.
Send this to those who would know (and love) the story about Grandma's aprons.
REMEMBER:

Grandma used to set her hot baked apple pies on the window sill to cool. Her granddaughters set theirs on the window sill to thaw.
They would go crazy now trying to figure out how many germs were on that apron.
I don't think I ever caught anything from an apron - but love.

Peach Jam

We were generously given a couple flats of peaches by a neighbor.  Many of them were eaten in their natural glory, but when they started to get soft, I knew it was time to preserve them.  I started off by boiling water and then putting the peaches in for about 30 seconds and then quickly moving them to a bowl filled with ice water to shock them.

I found the best way to peel them is by simply using a paper towel and gently rubbing the peach.   The peel comes of super easily.  Once they are peeled, then you can slice around the peach to remove the pit and finely chop them up into small pieces or cut them in half and freeze.

Take 4 cups of chopped peaches and
add 2 tablespoons of lemon juice.

Next, add one box of pectin to 1/4 cup of sugar, mix and add to peaches.  Stir until boiling and then

add another 3 1/4 cups of sugar and return to a full boil, stirring constantly for one minute.

Remove from heat and skim off the foam.

There shouldn't be all that much foam, but by removing it, you will have a much cleaner looking jam.
Ladle your mixture into jelly jars and process.

and you will end up with this beautiful and delicious summer jam to enjoy all year long.

Thursday, July 26, 2012

Apple Butter

Making Apple Butter is very similar to making applesauce.  You cook down the apples
and puree it in the food processor, just like you would applesauce.

But here is where it changes.  You put the sauce into your crockpot and add sugar, cinnamon, nutmeg and cloves.  Stir and set the timer on low for 4-5  hours.

Be sure to put the lid on, but not all the way.  The lid is on to keep the splatter down and it is cracked open to allow any liquid to evaporate, which is what will make it thick and turn into apple butter.

You can see how the color changes to an almost caramel and how it thickens.
Then put it into your sterilized jars and process.  It is delicious on bread, pancakes or muffins.

Wednesday, July 25, 2012

Apple Slices

I canned 2 quart sized jars of raw apples.  I chose to can them raw, with the hopes that they will be a bit crisper when I go to use them.  I also didn't add any spices or make a syrup, because I prefer to add fresh spices to my apple pies when I bake them.

To can raw apple slices, all you do it core and peel the apple and then I cut them using an apple slicer to get uniform apple slices.  Pack them into a sterile jar, add boiling water and process in either a pressure canner or water bath.